Reflections on Touching Earth 2023
Our Second Annual Natural Building Workshop in Colorado
September 30, 2023
Following up on the success of last-year’s 27-day Natural Building and Inner Exploration Workshop Series (which we shared about with photos here), we opened the doors again this year to make the ongoing construction of our Colorado eco-campus available as a learning opportunity for anyone wishing to explore earthen building and our relationship with nature.
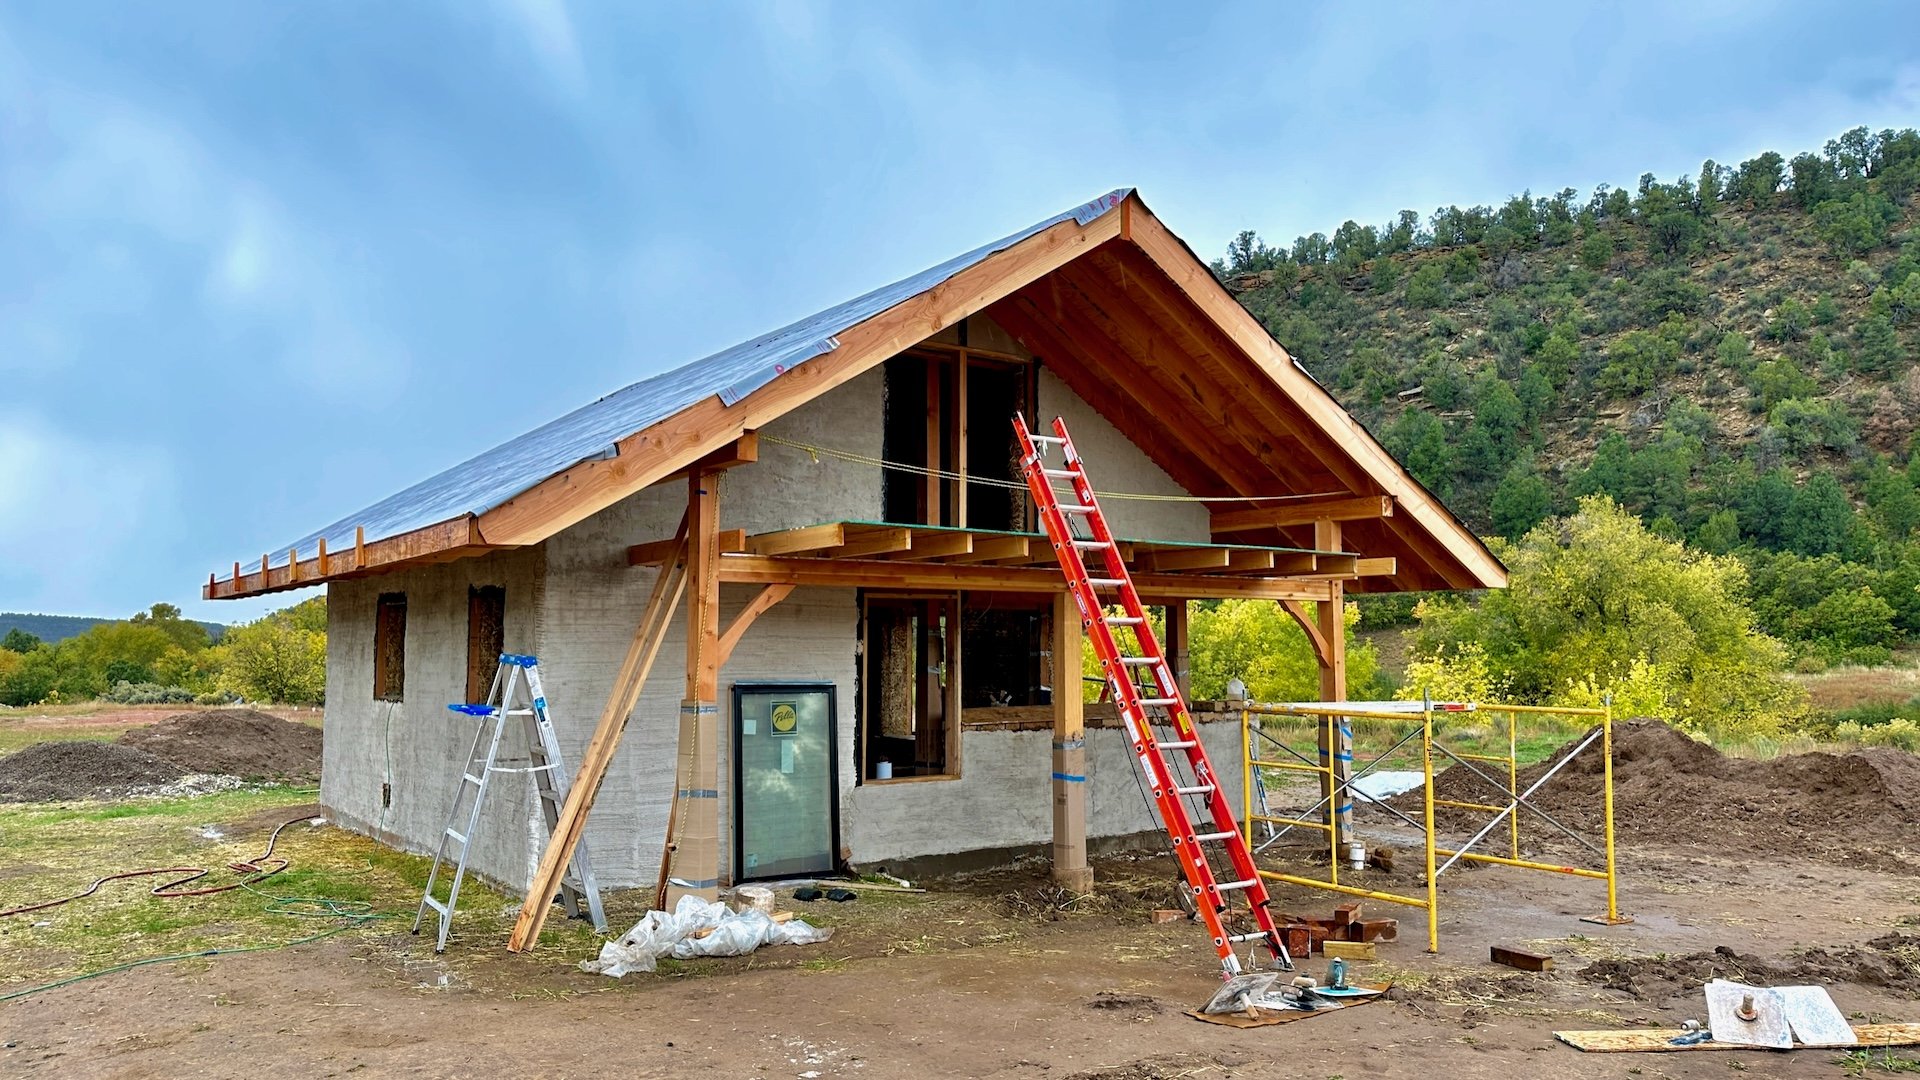
Earthville’s community kitchen building, as it stood at the end of last year’s building season
Starting point: Unfinished business
Earthville’s kitchen is a fusion of three excellent natural building techniques and materials: straw bale, earth and traditional mortise-and-tenon timber framing, each of which has its strong advantages.
The cliffhanger from last season’s finale was that Earthville Institute’s first building, a community kitchen, was almost structurally complete, but there were still two sections of the exterior wall to be completed: one triangular section at the top of the southern straw-bale wall, and part of the earthen brick wall of the bathroom. That gave us a natural starting point for this season’s workshop.
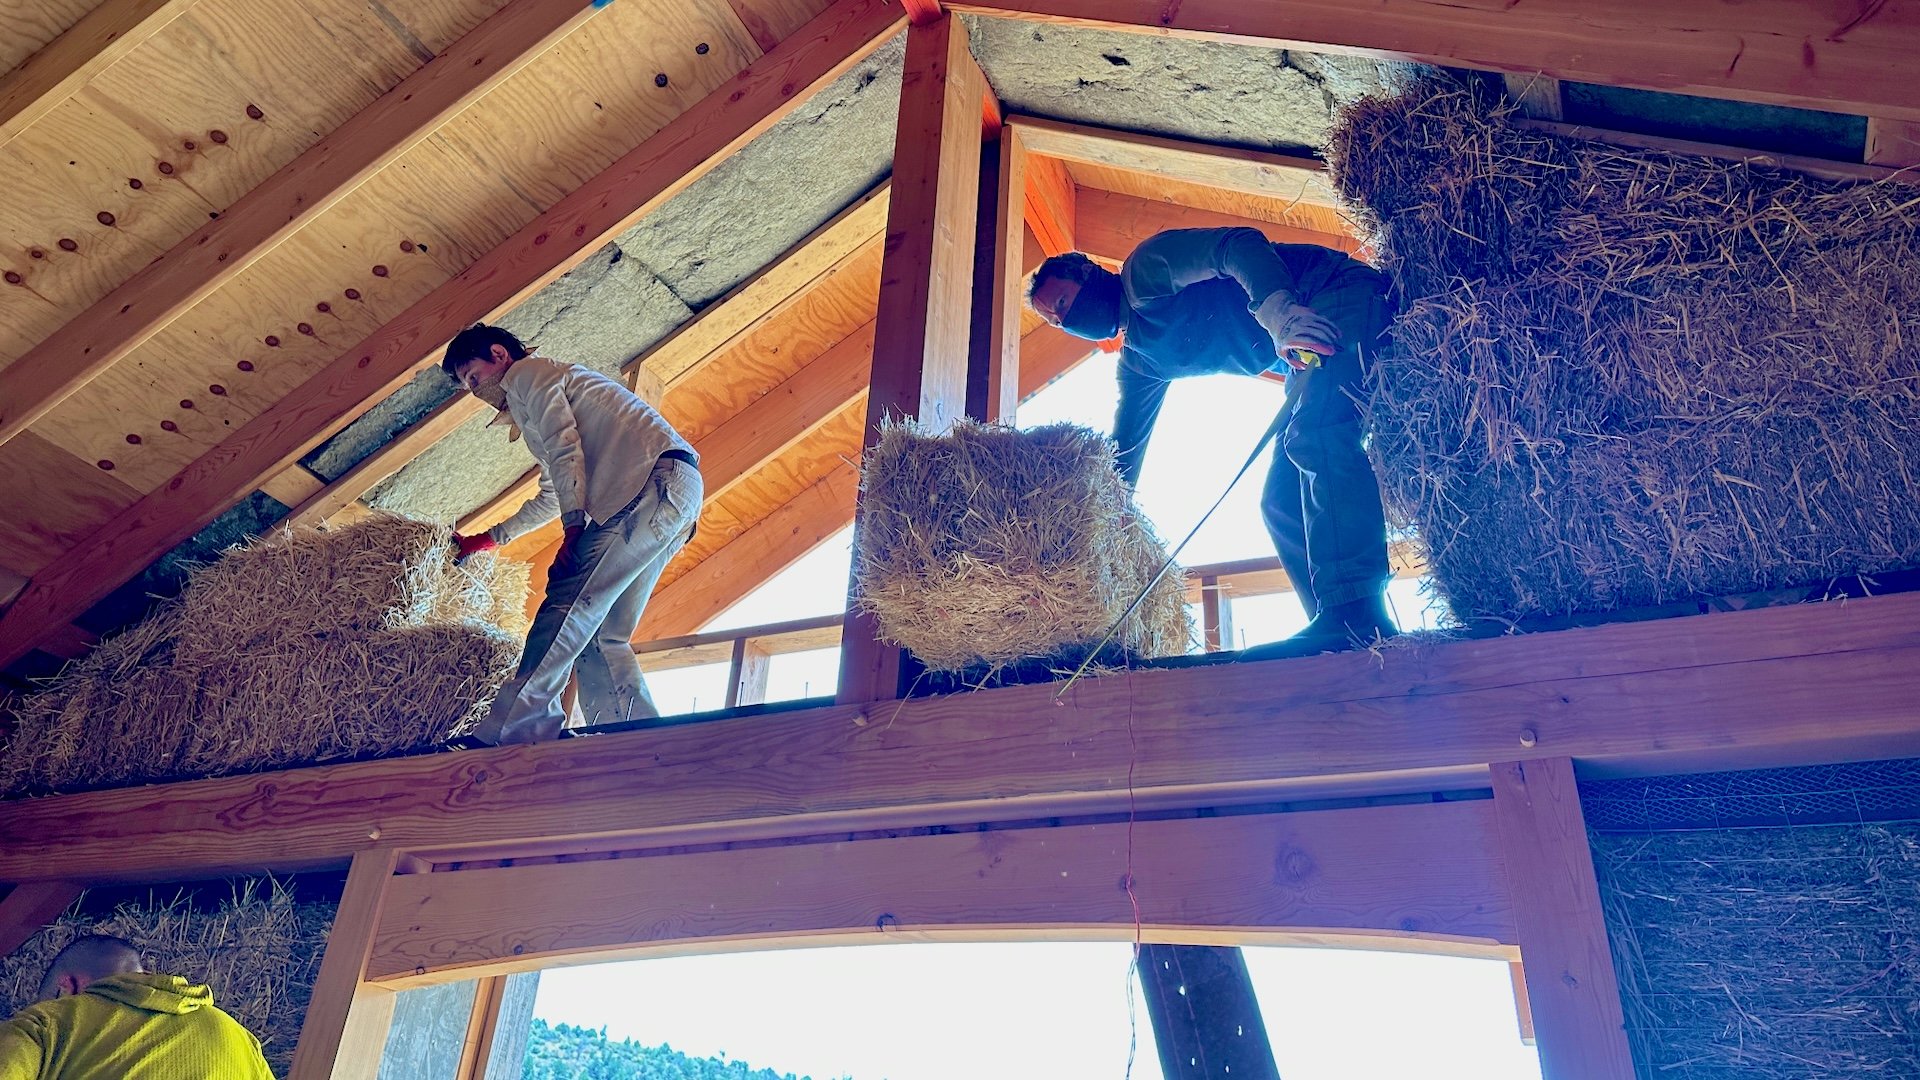
Filling in the gaps: Packing straw bales into oddly shaped spots at the top of the wall
Rectangular peg in a triangular hole
After the joys of last year’s straw-bale workshops, we’re excited to jump back into baling work.
Fortunately, thanks to the dry climate of the Four Corners region, our leftover straw bales from last year haven’t taken on moisture so they ‘re still in great shape for building.
The triangular shape of the wall section to be baled this season provides some extra fun, squishing straw in to fill the gaps above each bale. Once we’ve squished all we can squish, we stretch the wire mesh over the bale wall, staple it in at top and bottom, and then squish a little more straw in through the openings in the mesh until it’s densely packed.
Working side-by-side on the scaffold is a great way to make new friends.
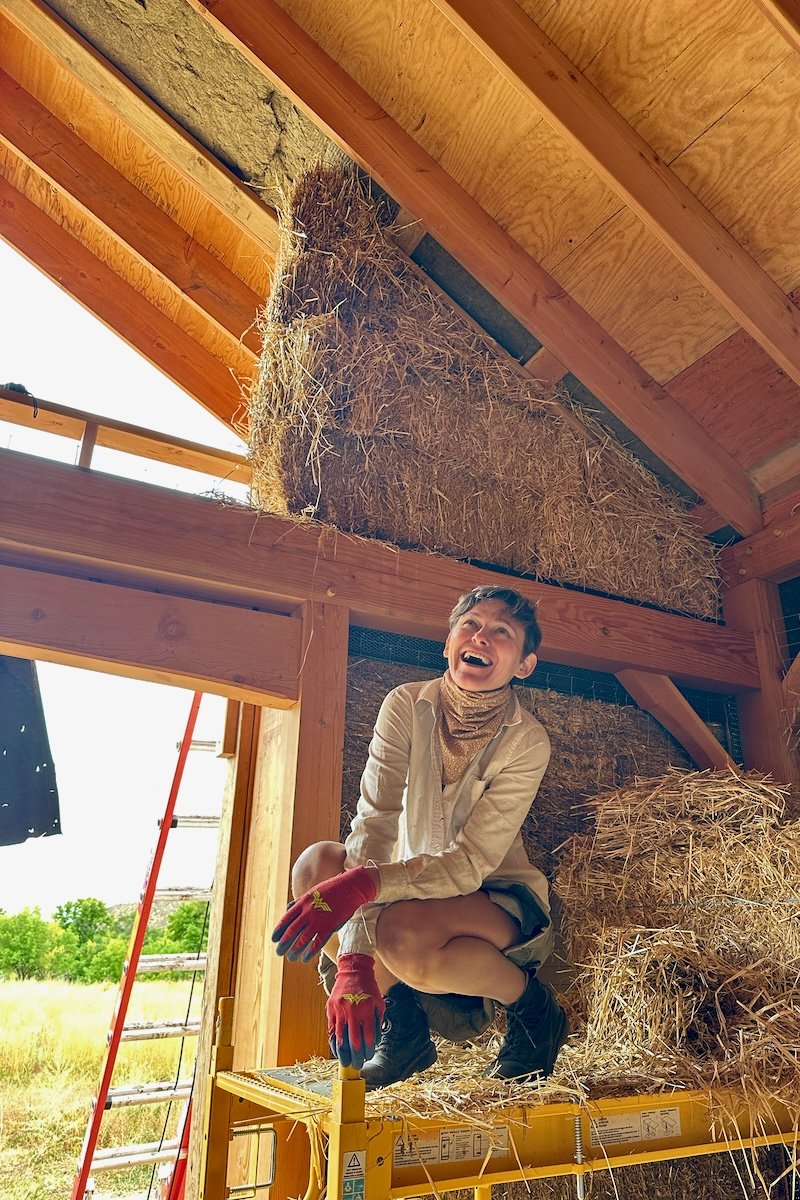
Margaret, full of bale, but far from baleful
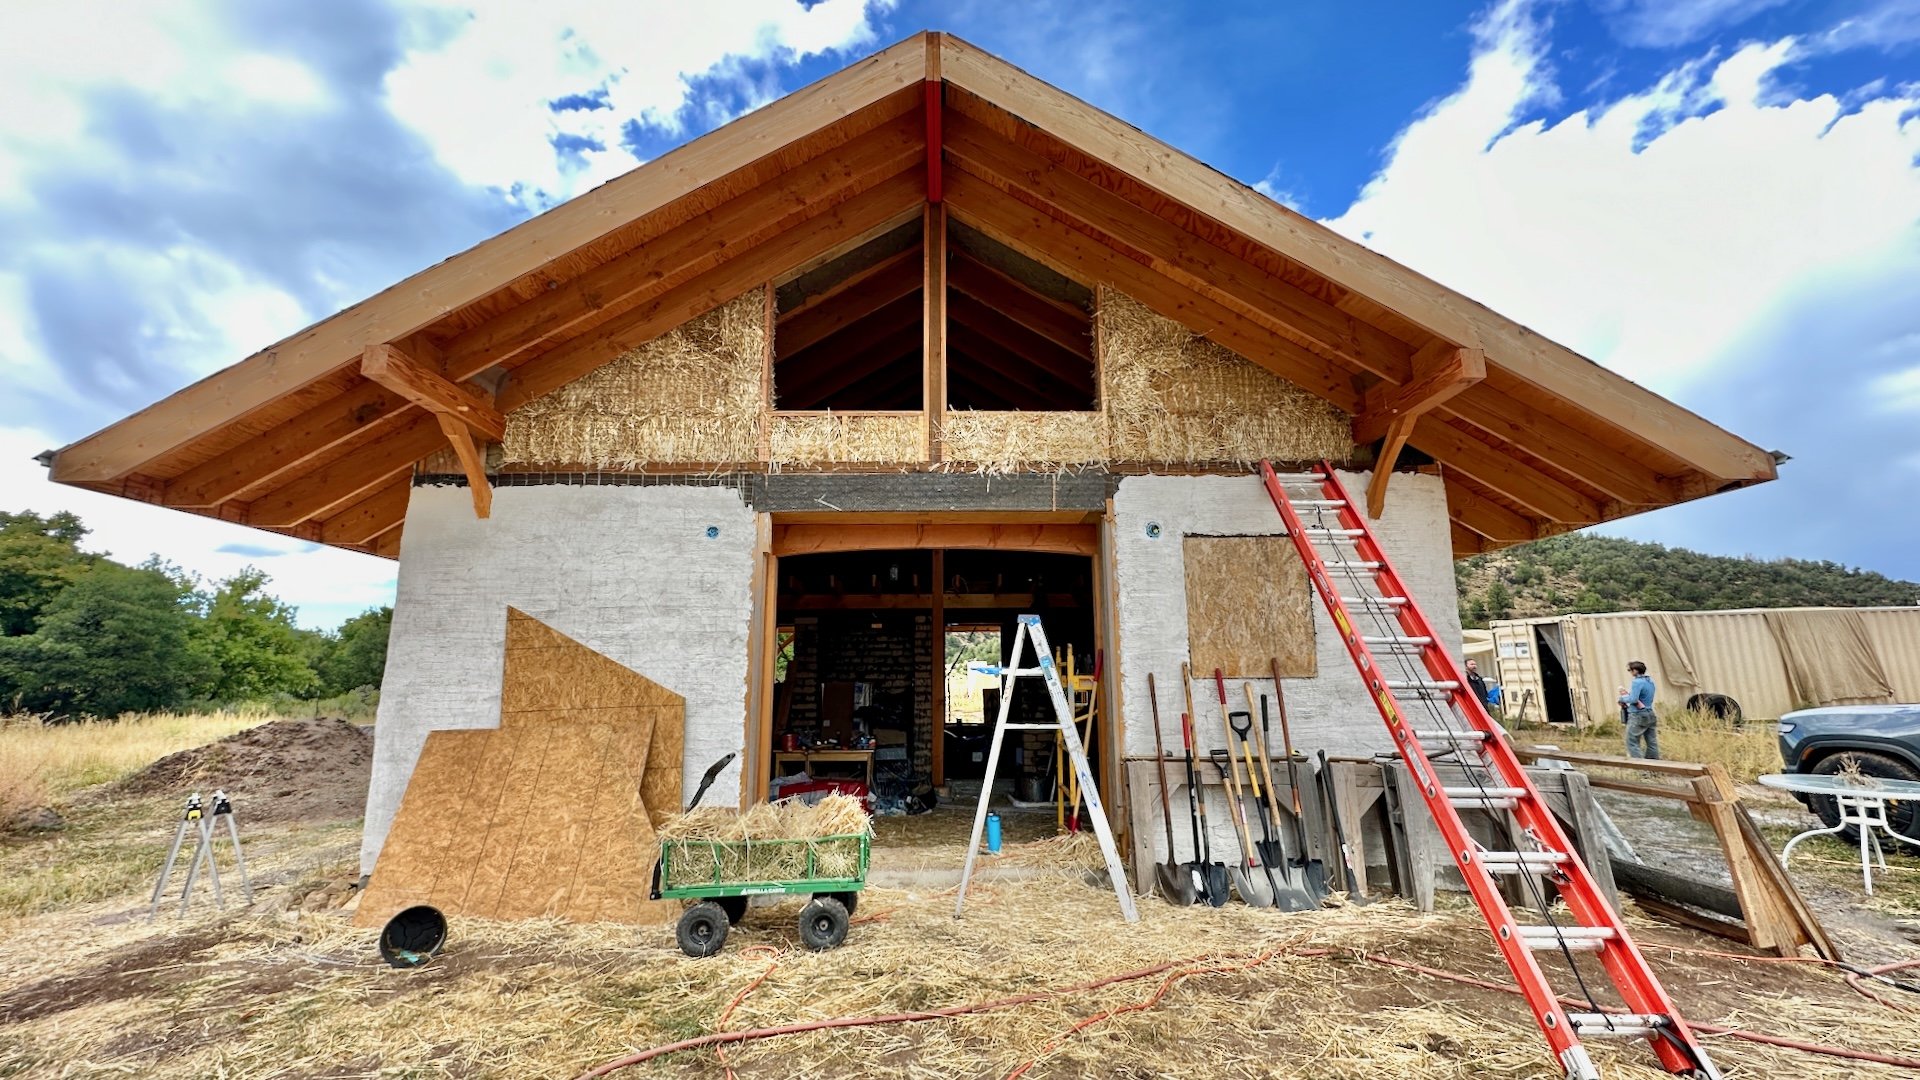
The upper triangular section of the straw-bale wall is complete and ready for plaster.
Getting our hands (and feet) dirty
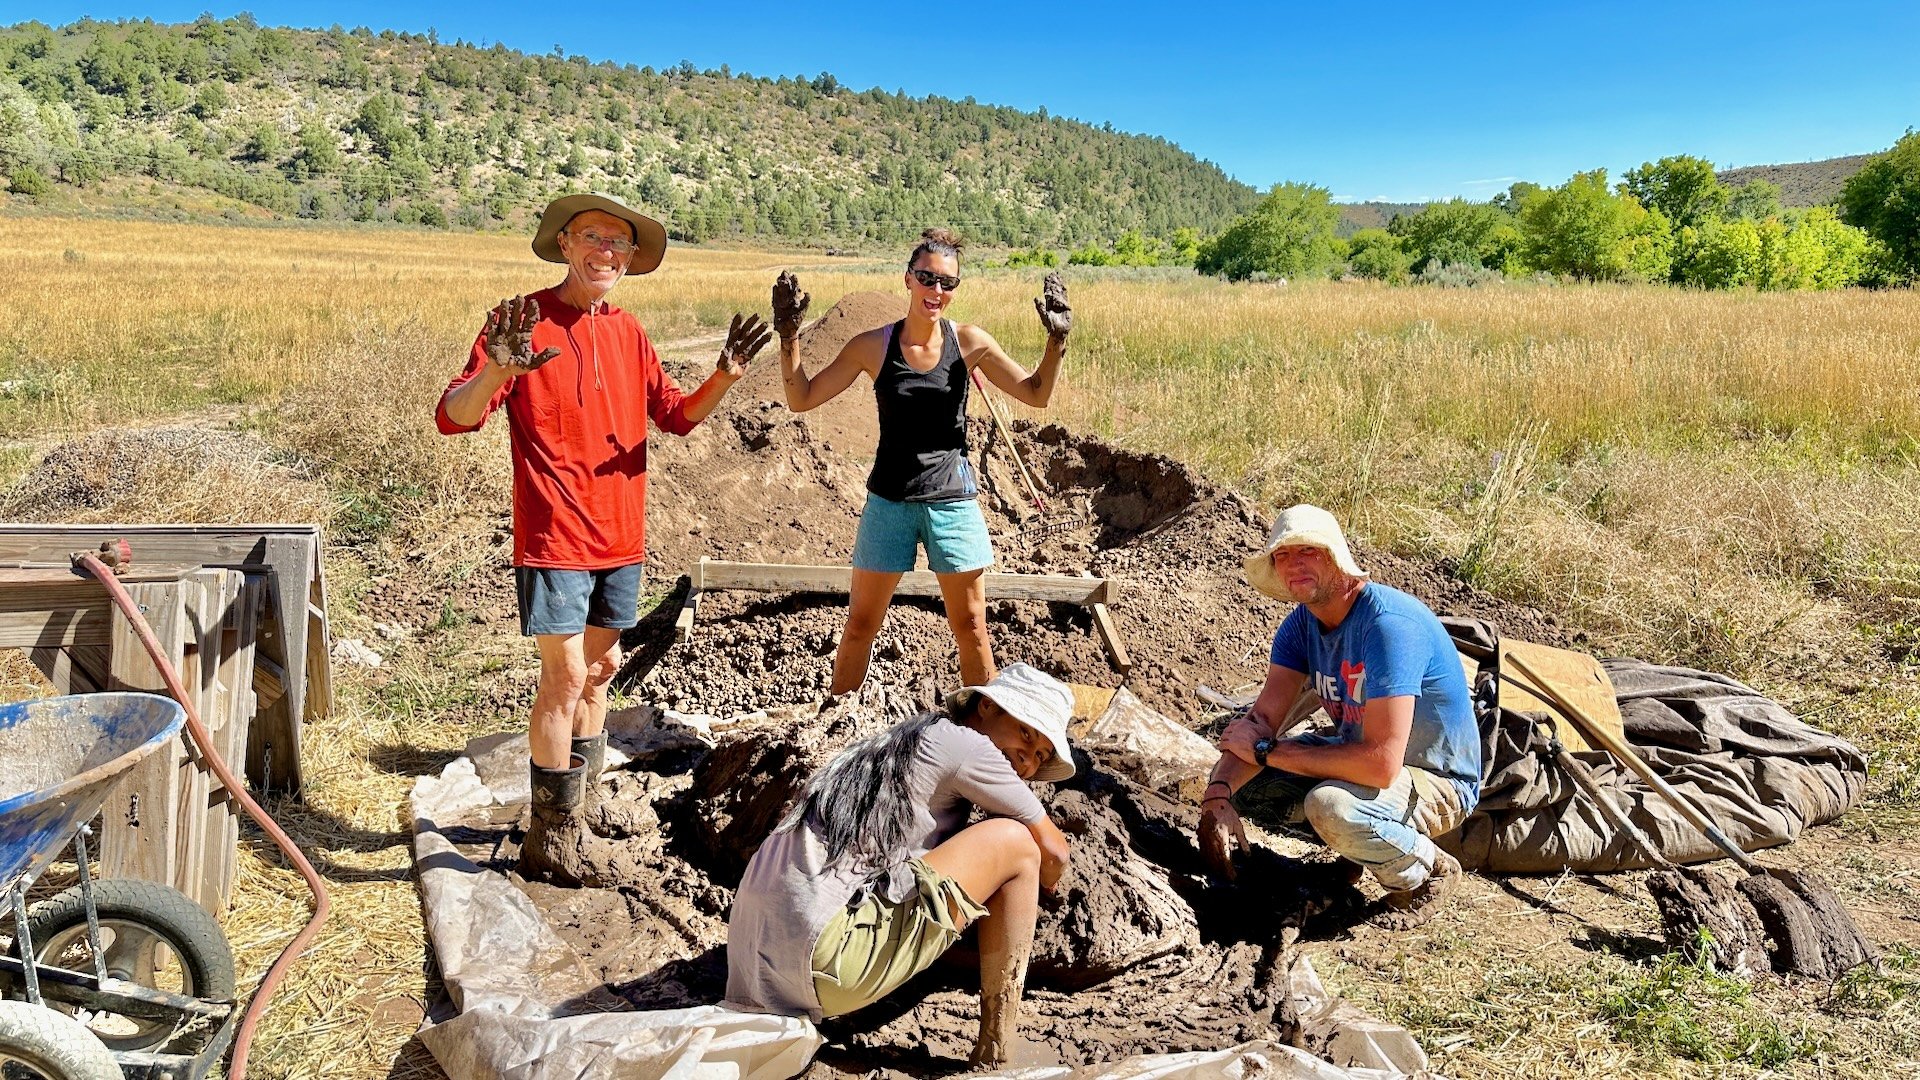
The first steps in earthen building work are to harvest soil with an appropriate composition for the type of earthen work to be done (e.g. adobe, cob, CSEB, rammed earth, earthbags, clay renders, etc.), sift it to an appropriate size for that purpose, and then “pug” the mix: use the feet to mix the clay, sand, and water together thoroughly, which according to best practices should be over a period of at least five days.
Pugging a multipurpose mud mix, to be used in mortar, render, and slurry
Playing with mud
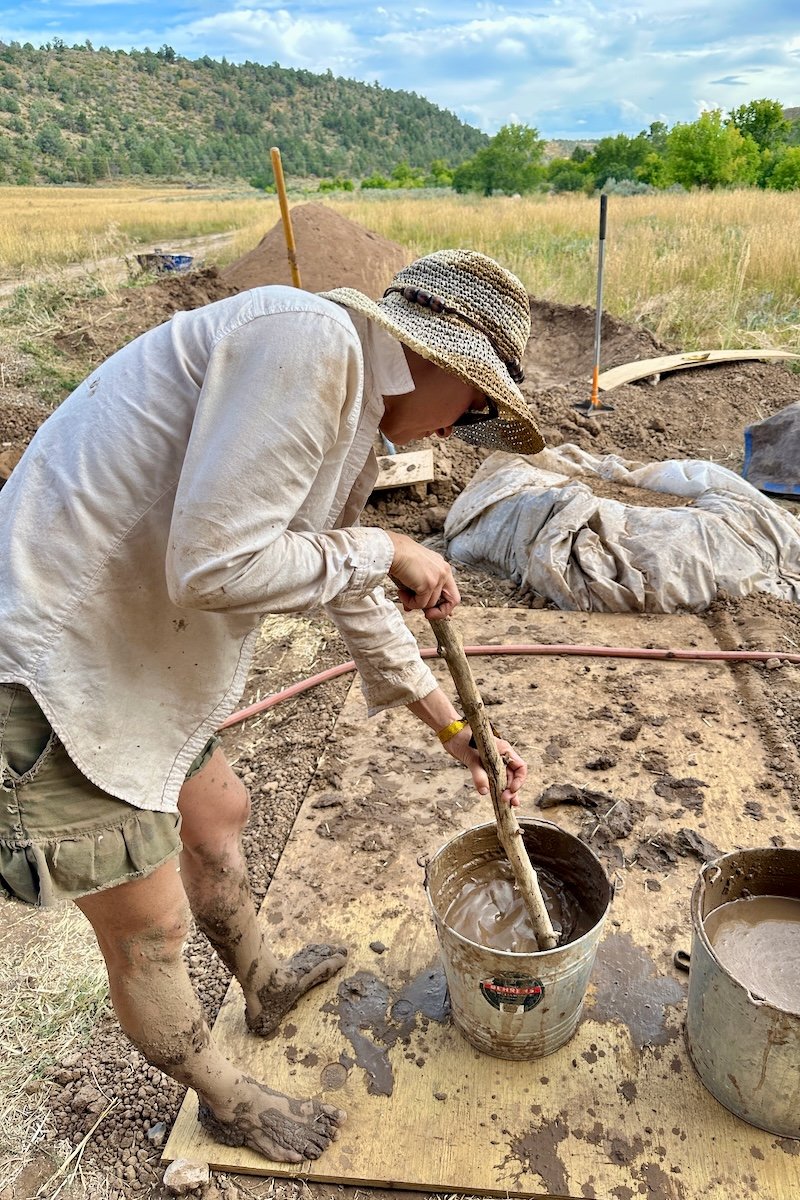
We begin by creating a multipurpose mud mix to be used as the starting point for mixes to serve three current needs: mortar for our mud-brick masonry, clay render, and slurry to be used as slip on the bale walls. After pugging a fine mix for five days, it becomes creamy and pliable, ready to be used for all of these purposes.
Our first use of this mix is to make a slurry by adding water to it, creating a clay slip.
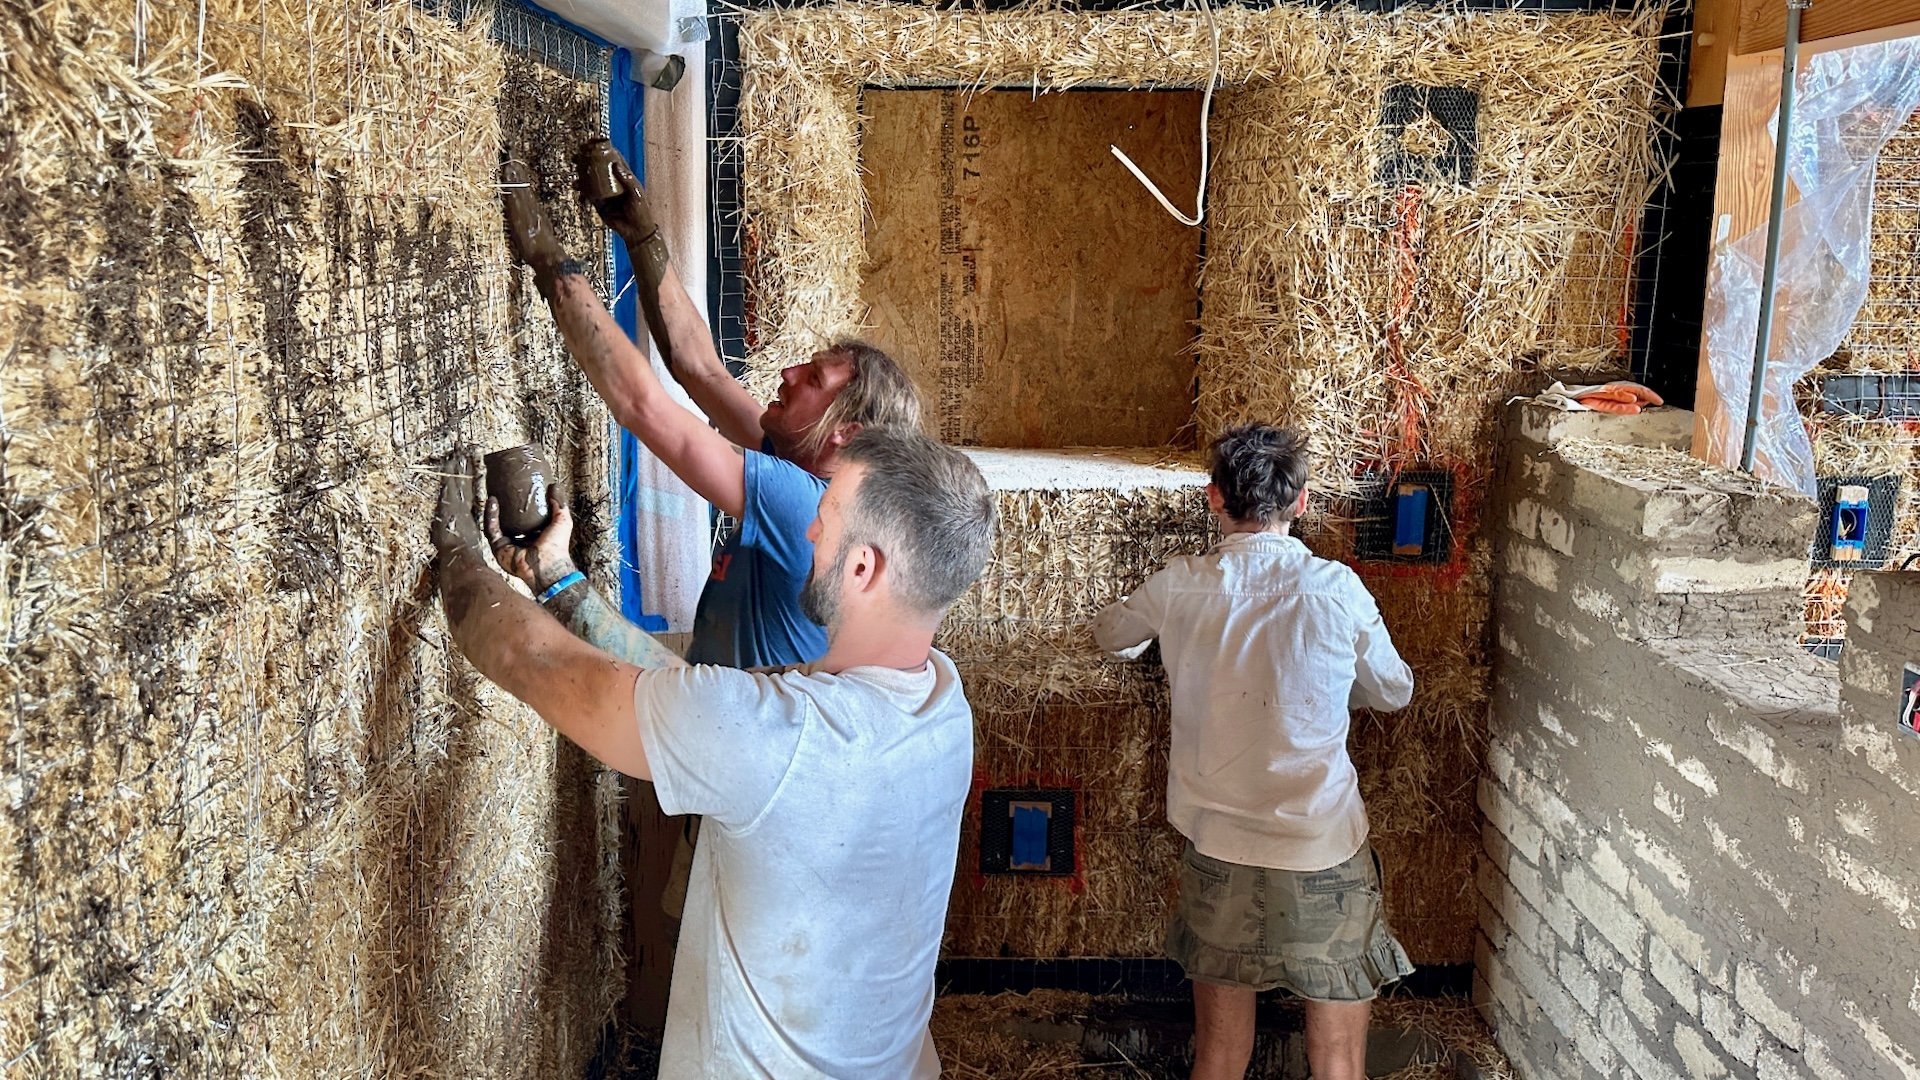
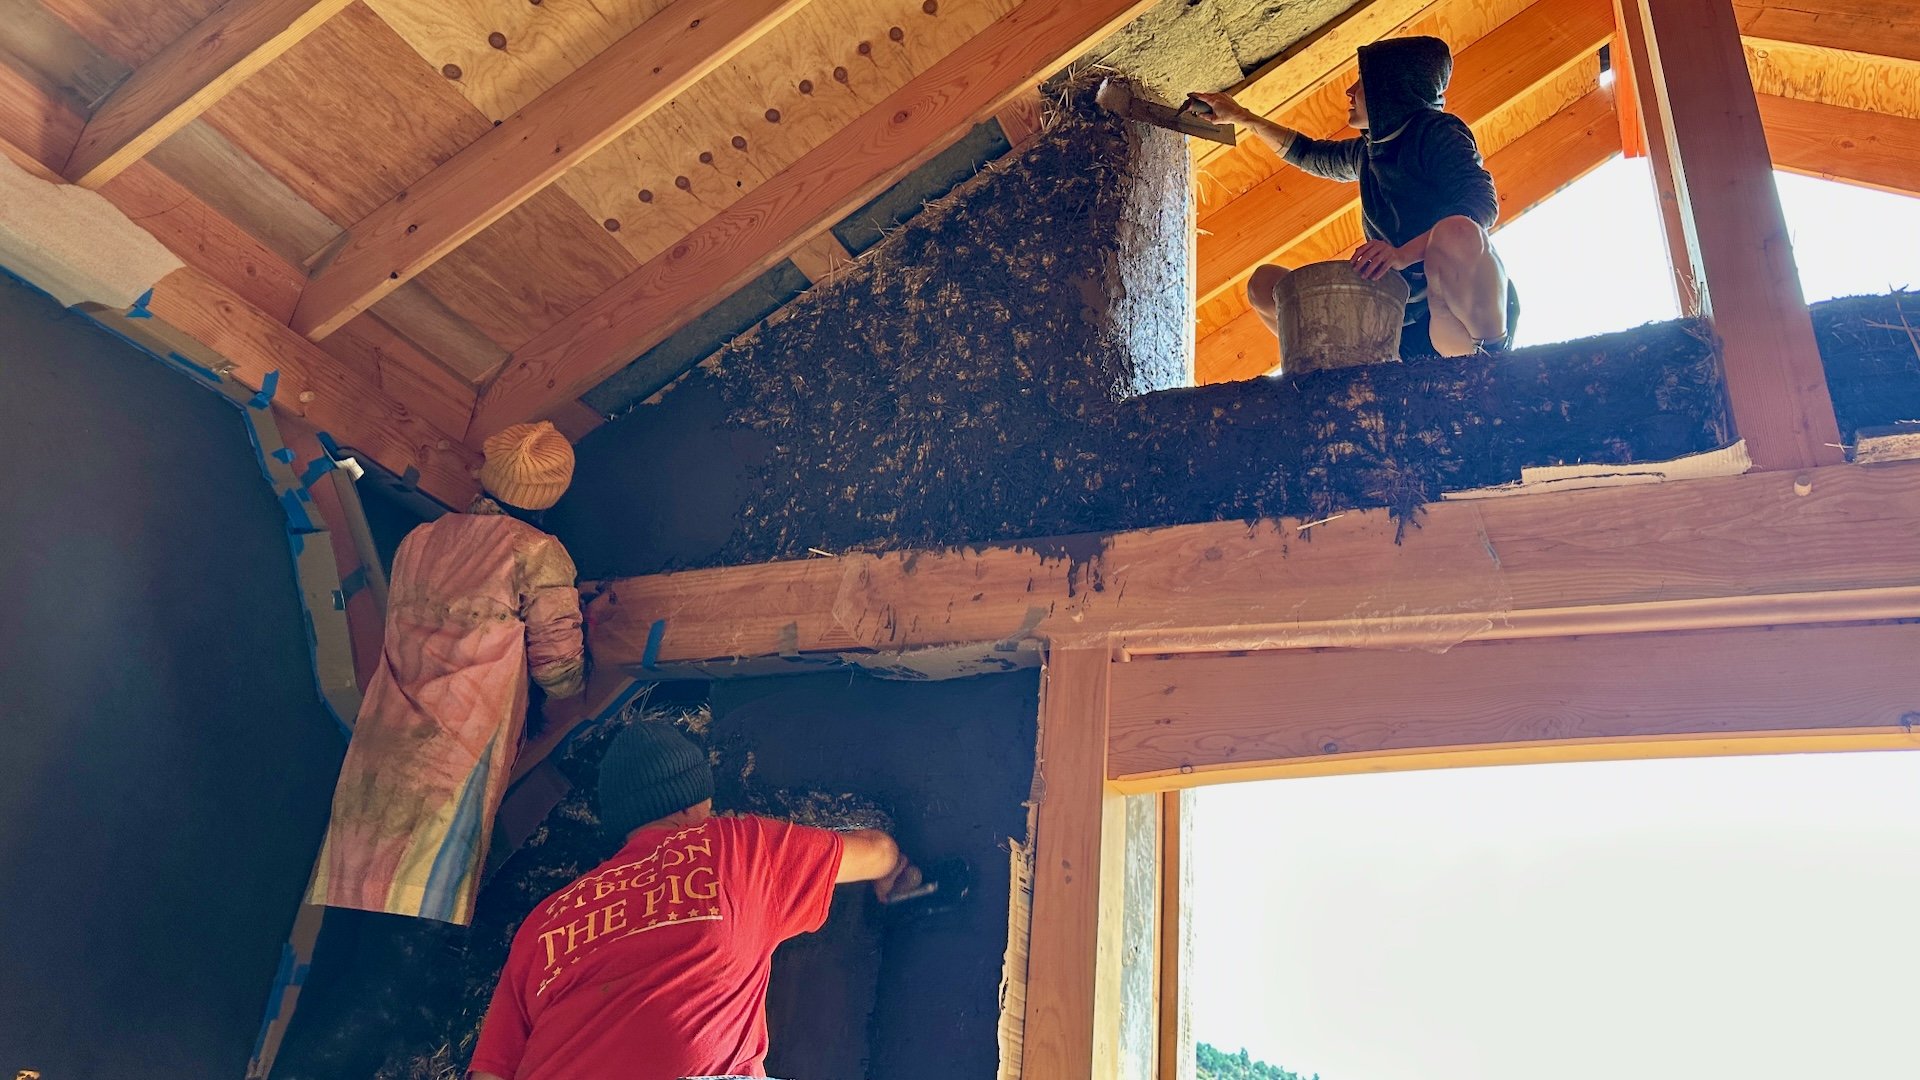
We then apply the clay slip to the meshed straw-bale walls, which primes the walls to receive the clay render and hold onto it with a good grip.
Making a mud slurry
Applying clay slip to the straw-bale walls
Like frosting a chocolate cake
Applying the base clay render
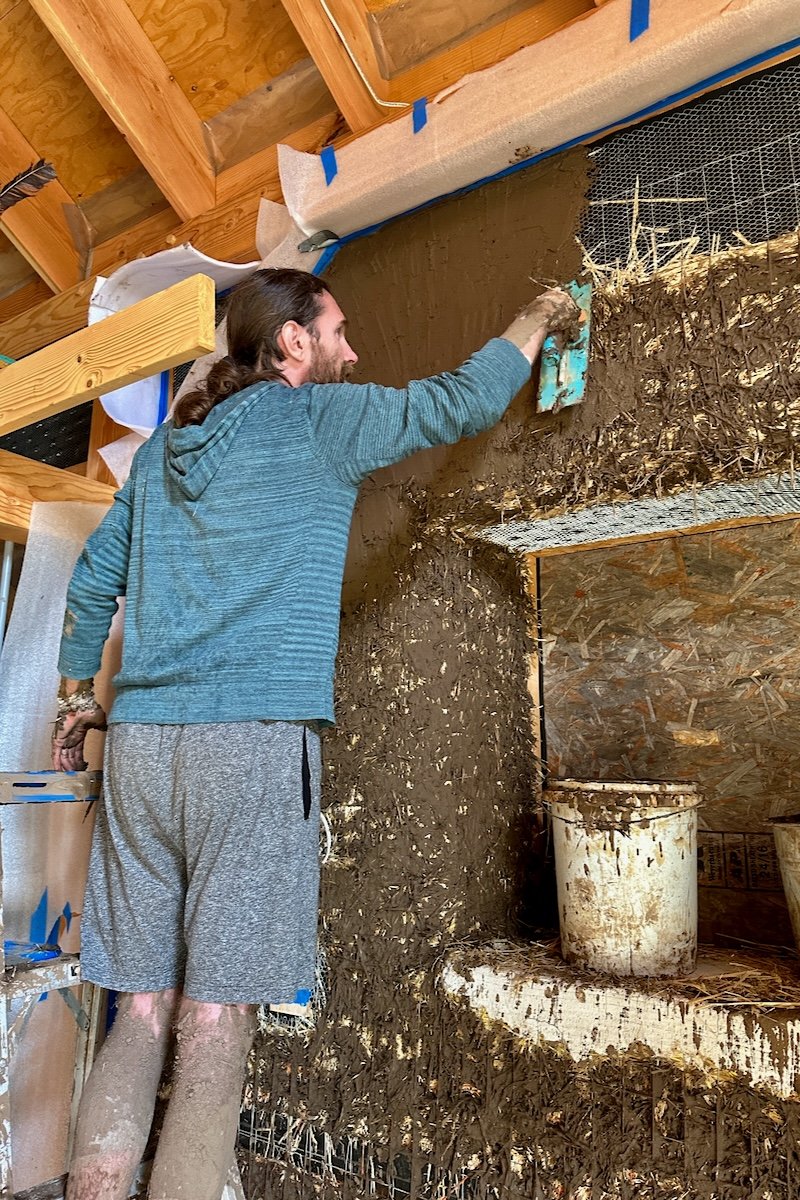
After coating the straw-bale walls with clay slip, we let it dry just partially. When it is dry enough that it no longer rubs off easily on one’s finger, that’s the perfect time to start applying the clay render.
The base coat of mud plaster can be applied by hand, by trowel, or both, and we encourage participants to explore both methods. The purpose of the base coat is essentially bridge between the slip-coated straw bale and the second coat of clay render, which is finer and of a different composition (see below).
For this reason, the base coat is best left with a rough finish, to give the next coat a textured surface to grab onto.
Our participants take a shine to this work, finding it to be soothing and meditative, as we do.
Applying clay render base coat across the clay-slipped walls
Completing the mud-brick walls
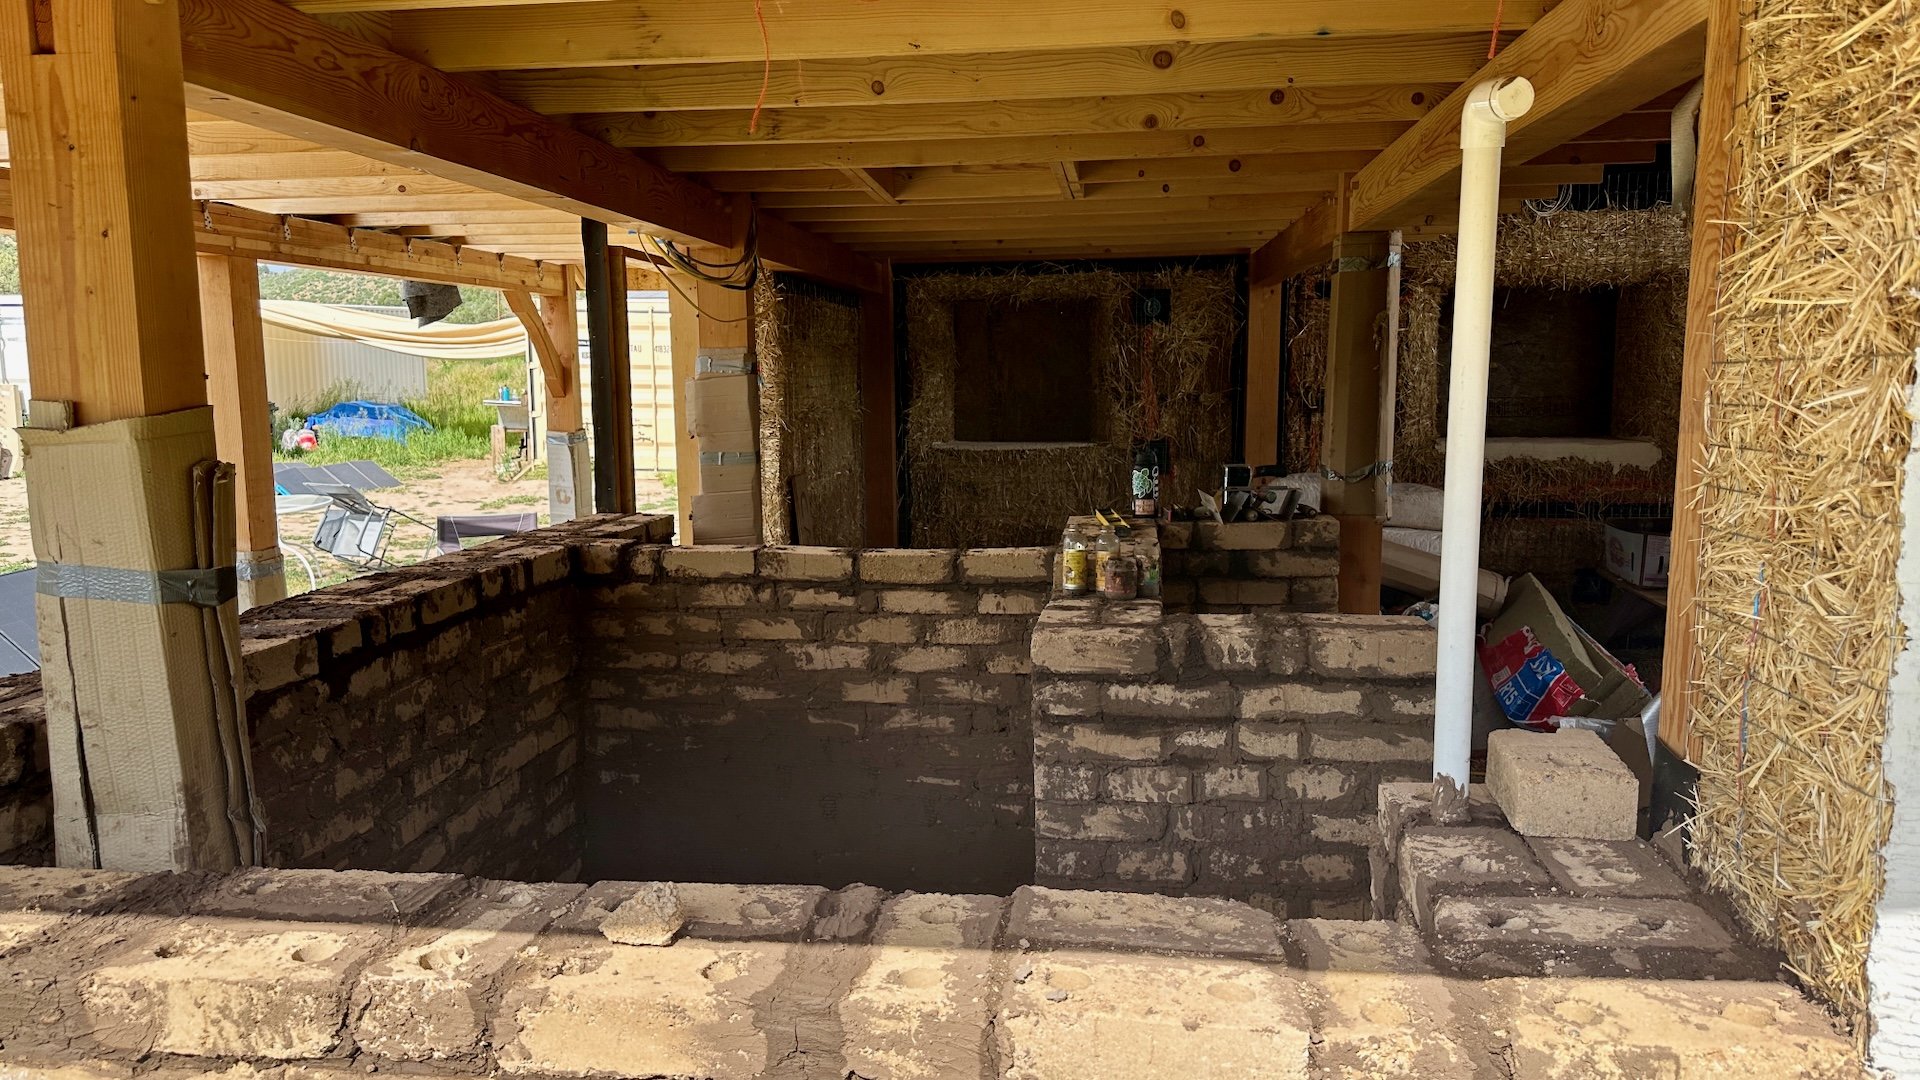
At the end of last year’s building season, we had raised the internal walls only partway, so we needed to complete those walls before we could apply clay render to the interior and lime plaster to the exterior.
Halfway there: An inviting starting point for this year’s work
Learning earthen masonry
For the kitchen building, we had decided to build the bathroom using lime-stabilized compressed earth blocks (CSEB) rather than straw bale. For this reason, the straw-bale walls stopped when they reached the area demarcated for the bathroom, leaving a gap for us to build the earthen walls.
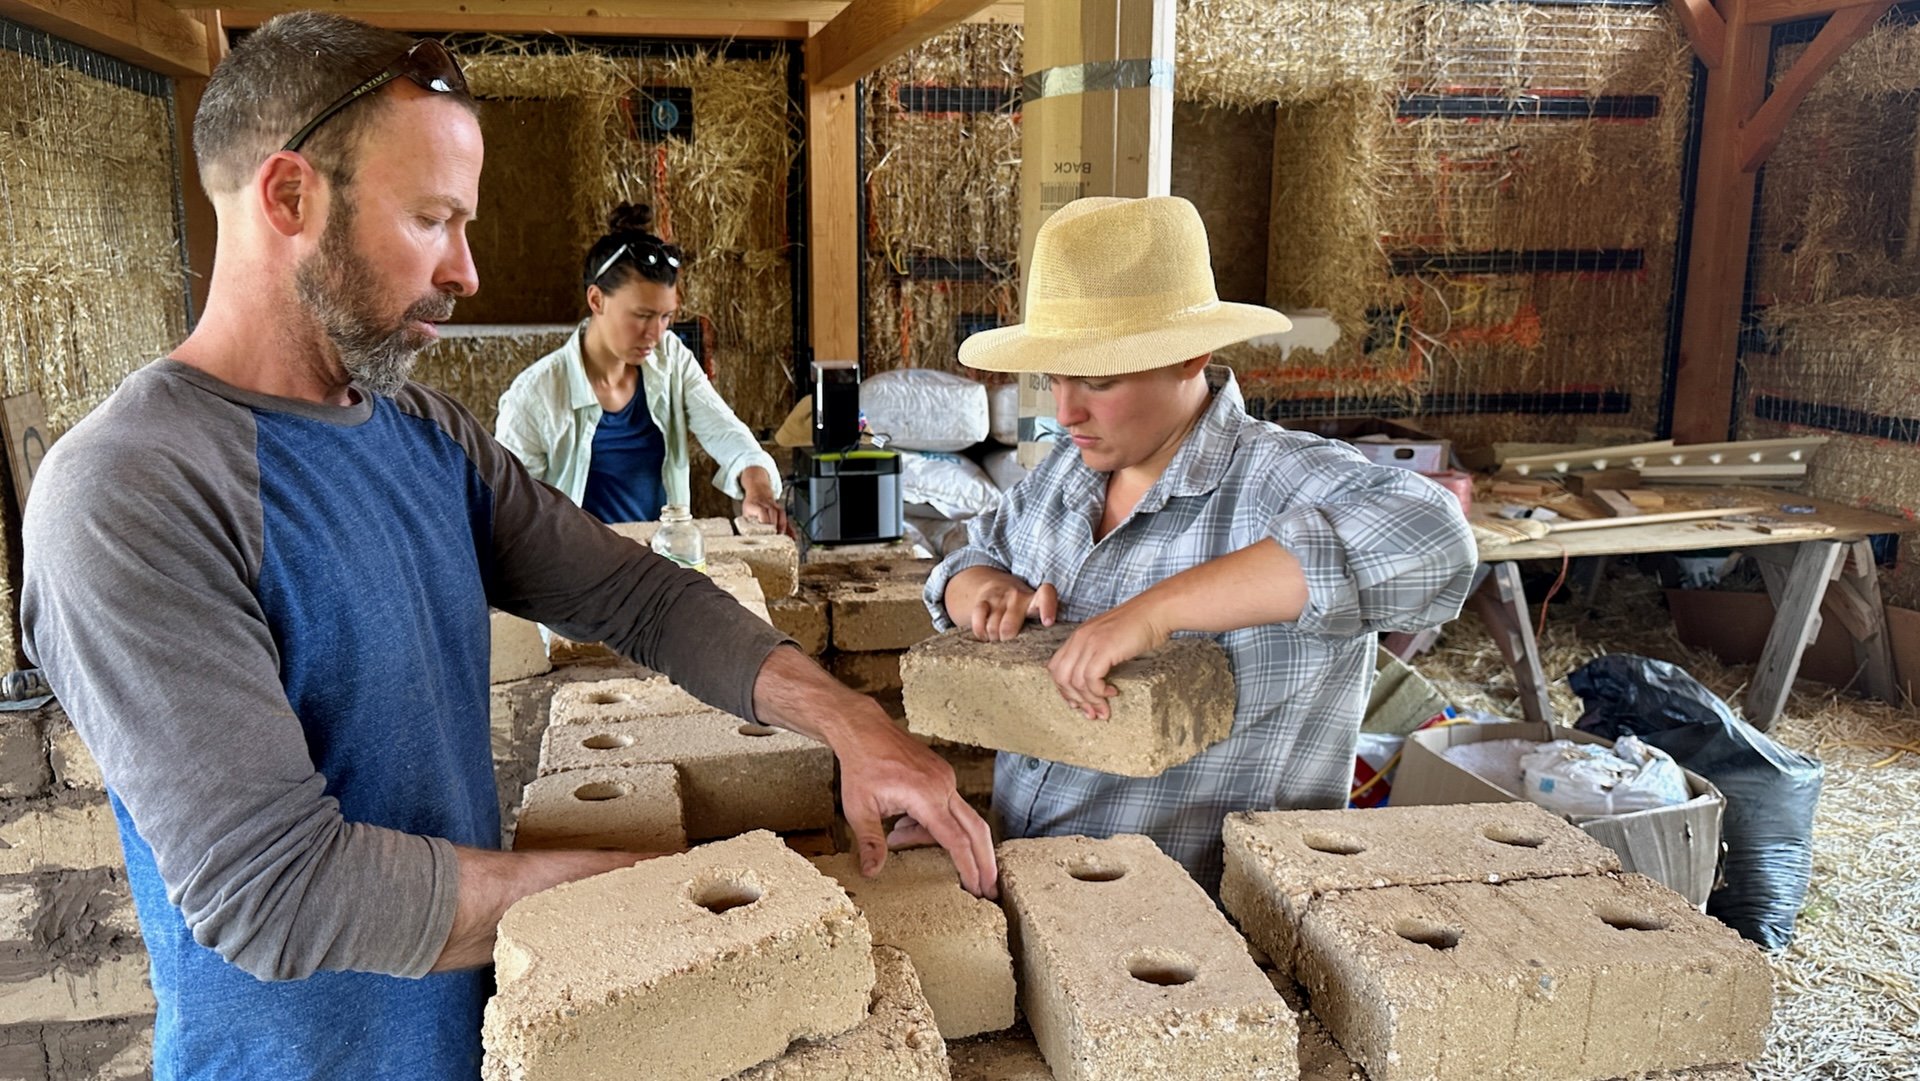
Now, Mark trains the participants in the basics of earthen masonry so they can continue the work atop what had already been done. Our new masons learn to lay the bricks mindfully (“seeing” with both the eyes and the hands), and mortar in between.
The participants then get to work — learning by doing — each on their own section of the wall, with Mark checking their work and offering pointers.
Kyra loves her work: Applying a very subtle adjustment
Dry run: Practicing working out a bond pattern before applying mortar an laying the bricks
Shaping an arch with mud
Arches in earth
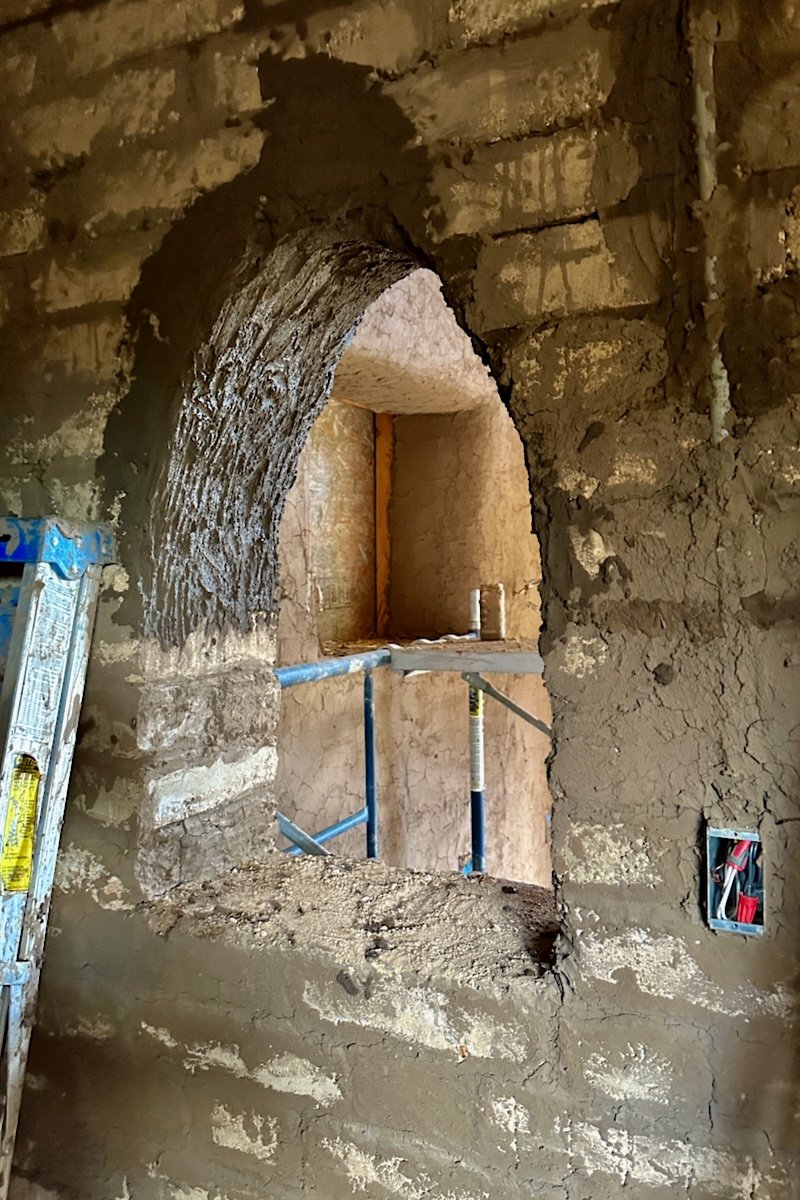
One of the joys of building with earth is the ease of making beautiful and functional features such as arches and niches. In this case, Mark is shaping an arch to serve as a pass-through between the kitchen and the pantry.
This type of arch begins life as a zig-zag of corbeled bricks. Clay render is then applied gradually, in thin layers, each of which is allowed to dry almost (but not quite) completely before applying the next, for optimal cohesion.
Later, when we apply the smooth final coat, there will be a soft, smooth finish that rewards close observers with subtle gradients of light at certain times of day.
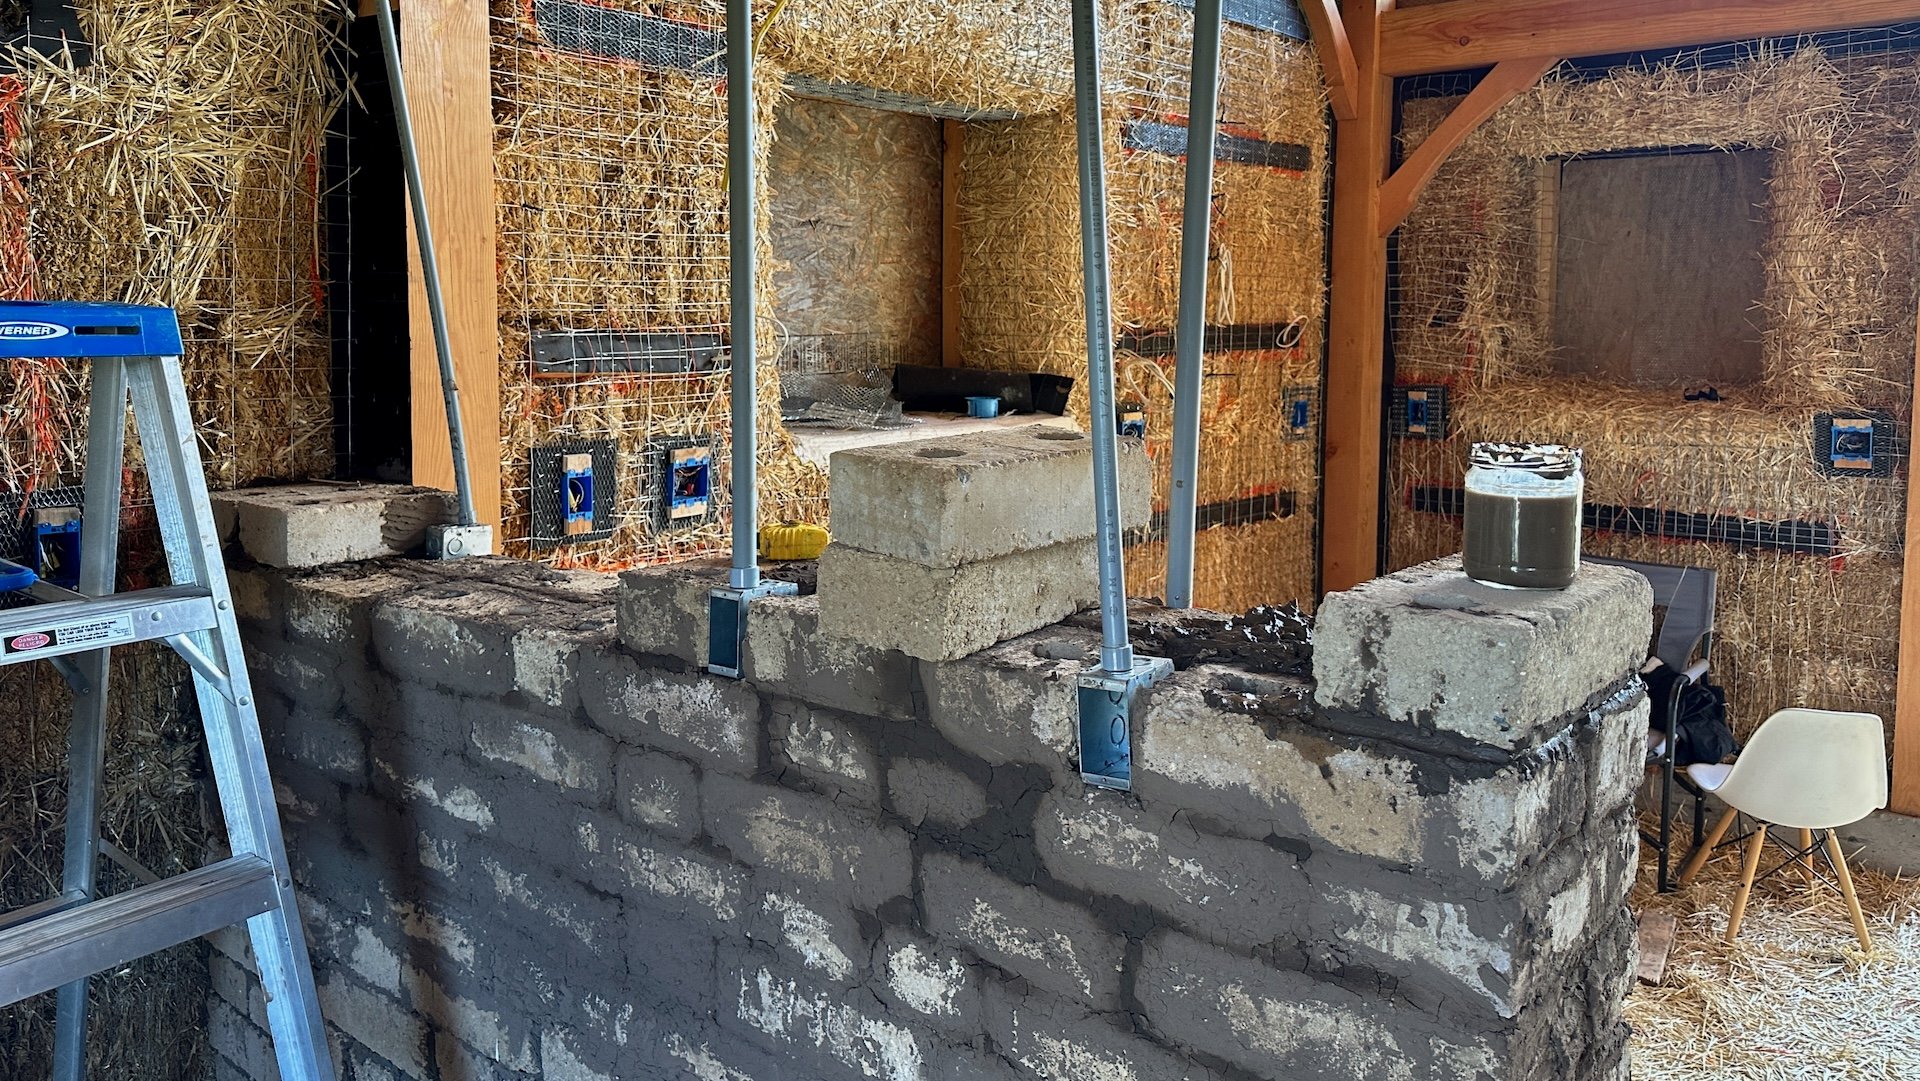
At this stage, we also place electrical conduits and “old-work” boxes in the CSEB walls.
Placing the electrical outlet and switch boxes in the wall as it rises
Applying renders
Once the compressed mud-brick walls reach the top, we’re ready to apply the base coat of clay render to them.
We first wet the mud-brick walls thoroughly to soften the exterior faces of the compressed earth blocks, and then apply the clay render right away, while they’re still wet for best cohesion.
This is another cake-frosting exercise, and plastering the CSEB walls is even easier than plastering the bale walls because of the firm surface the bricks provide.
Meanwhile, we also mix a few batches of lime plaster and apply it to the exterior of the recently baled upper triangle of the south wall.
And with that, our kitchen building’s walls and base coat of exterior plaster are complete, leaving us in a great spot to pause for the season before the cold weather comes in.
Participants apply clay render to the mud-brick walls.
All limed up: Exterior lime plaster scratch coat complete
Reflections
We love building with natural materials, and we love the whole process even more when we have good-hearted people with us to learn by lending a hand. Thanks to everyone who joined in! We looking forward to meeting new friends (and maybe some old ones, too) at next year’s Touching Earth workshop in the summer of 2024!
Photo credits: Mark Moore, used by permission

